

Step by Step Rainstorm Drawing
In this drawing lesson, you will learn how to draw a rainstorm scene. This lesson will take about 20 minutes and will guide you through the process step by step. You will focus on different elements that make up a rainstorm, such as clouds, lightning, and raindrops.
You can choose to keep your drawing simple or add color at the end. The goal is to understand how to represent the various parts of a rainstorm in your artwork. By following along, you’ll develop your skills in drawing landscapes and nature illustrations.
Get ready to explore the exciting world of weather through your drawings! You’ll see how each element contributes to the overall scene, helping you create a complete picture of a rainstorm.
Materials
- Pencil
- Drawing Paper
- Crayons | Colored Pencils | Markers (you choose)
- Black Marker (optional)

Are you excited to begin? Start by creating simple outlines for your rainstorm scene. This is a fun way to lay the groundwork for your drawing! Once you have the outlines in place, you can think about adding some shading to give your artwork depth and dimension. If you enjoy the look of bold outlines, consider tracing over your pencil lines with a thin black marker for a nice finish.Remember, this lesson has six steps that will guide you through forming clouds, adding lightning, and drawing grass and trees. Each part is important in making your rainstorm feel complete. So grab your materials, and let’s get started on your own rainstorm drawing!
Time Needed: 30 minutes
-
Form the Clouds

First, draw bumpy clumps of clouds across the top of the drawing.
-
Add the Lightning

Next, draw branching lightning streaks coming from the clouds. Make sure to erase any overlapping lines.
-
Draw the Grass
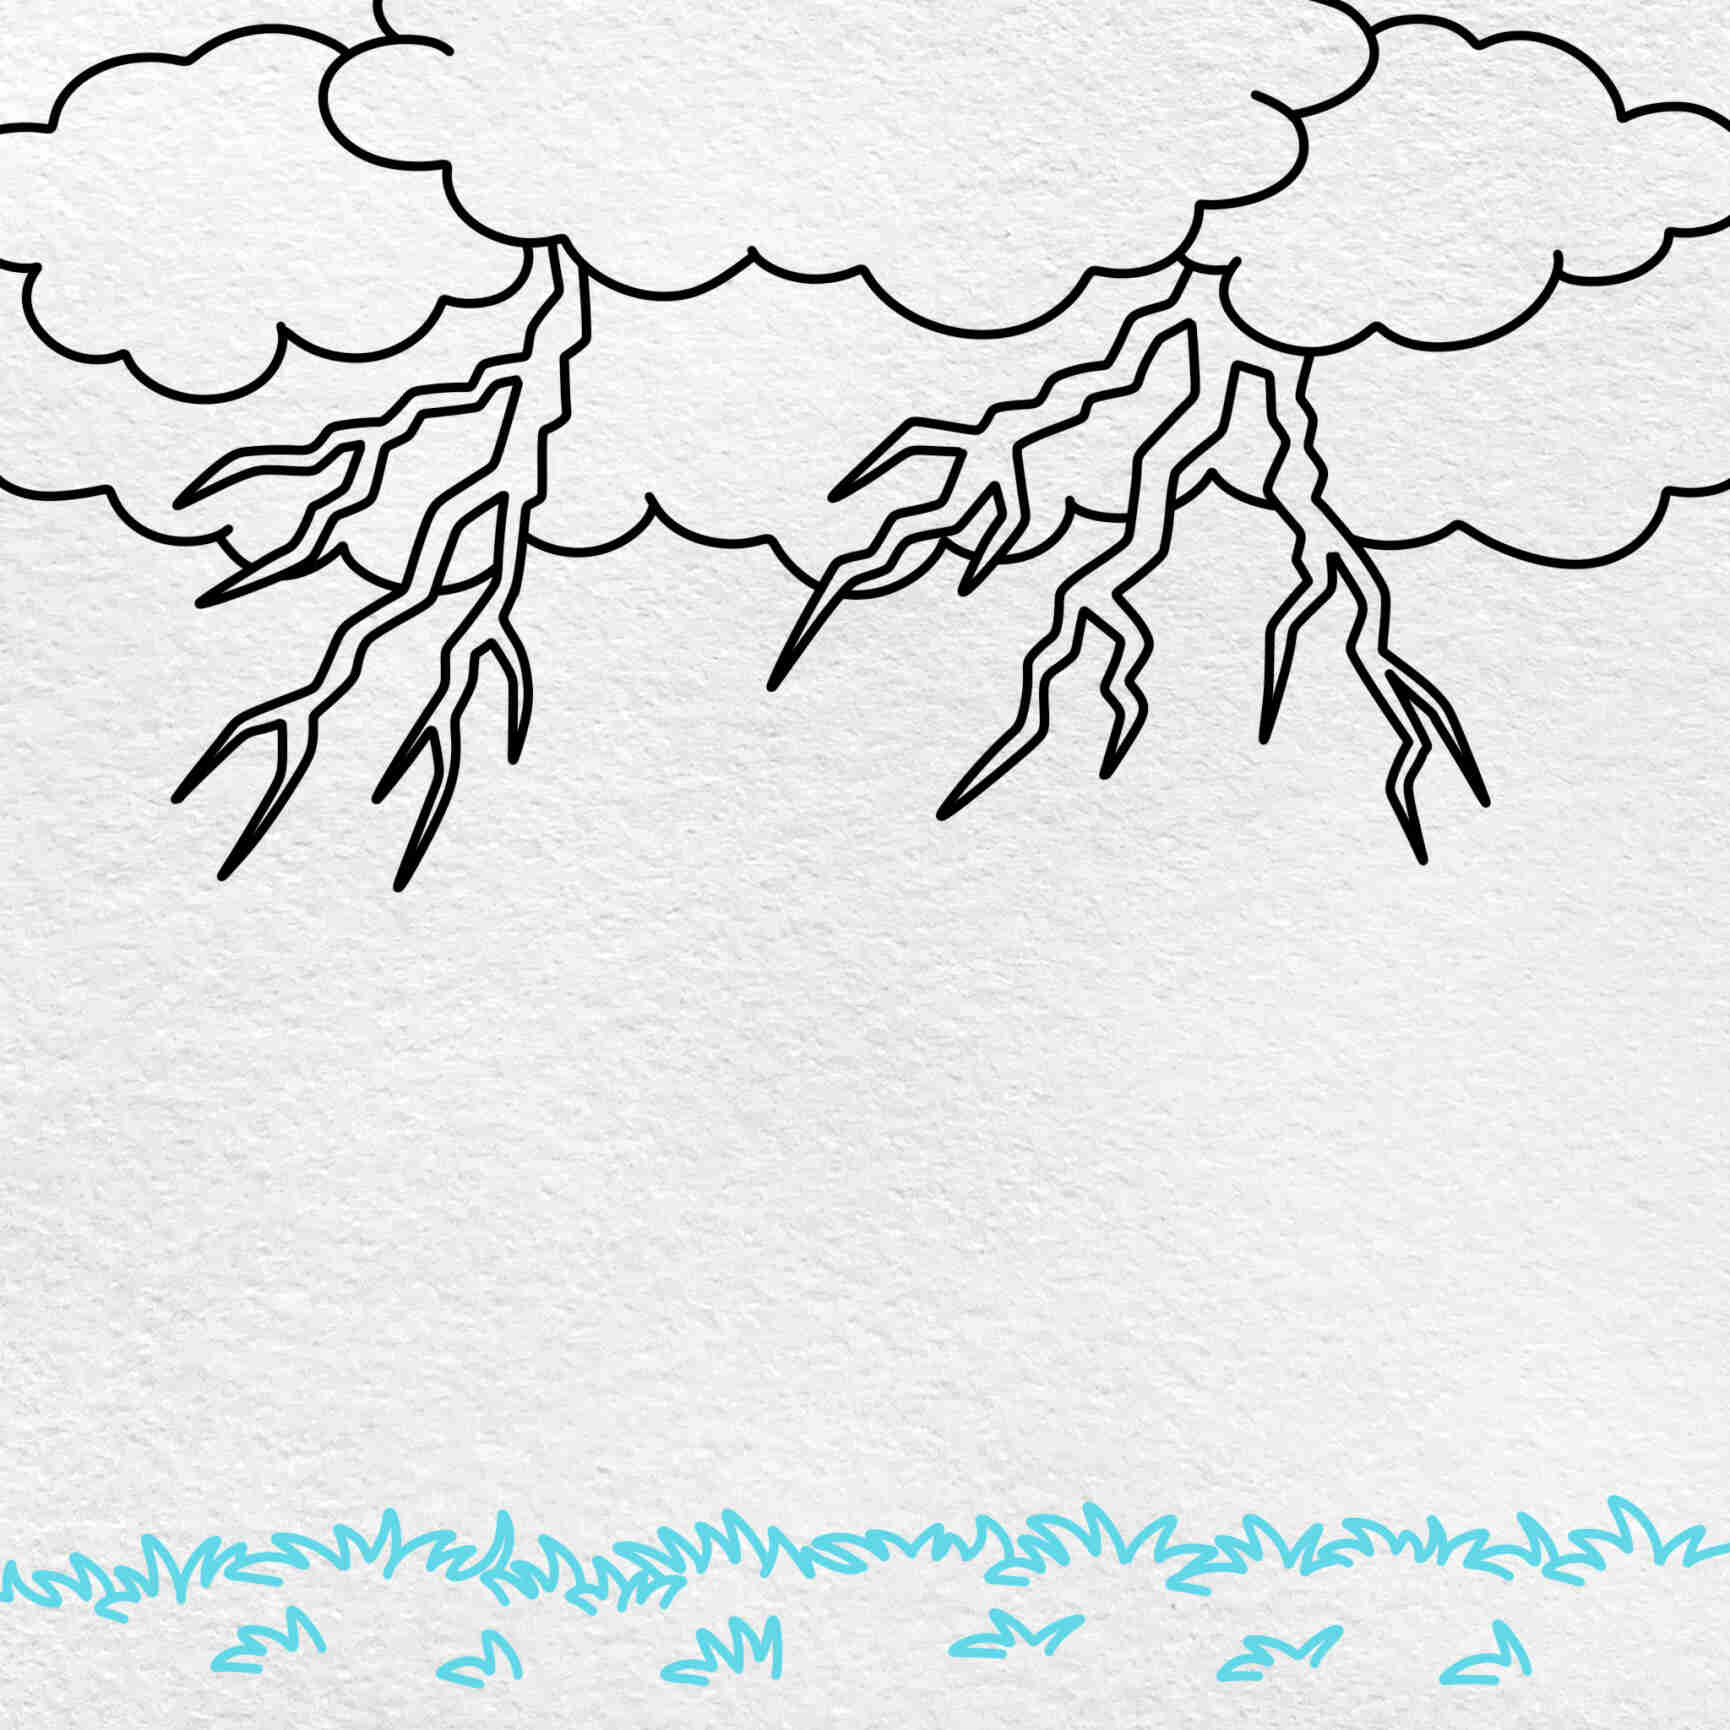
Draw grass near the bottom of the drawing.
-
Add the Trees

Add tall, swaying trees to emphasize the strong wind of the rainstorm.
-
Outline the Raindrops

Next, add small raindrops falling from the clouds.
-
Color the Rainstorm Drawing

First, use dark gray to color the rainclouds. Next, color the lightning yellow. Now, use an off-white color for the raindrops. After that, shade the sky with dark, muted blue. Then, color the tree leaves and grass green. Finally, use brown for the tree trunks.
Step by Step Rainstorm Drawing PDF Download
You can check out this drawing lesson in PDF format below. This PDF is great for printing and will help you with your drawing skills. At the end of the PDF, you’ll find a fun coloring page with just the outlines for you to fill in! You can either preview it or download it for easy access.