

Tree Bark Drawing
In this lesson, you will learn how to draw tree bark, an important part of landscape art. This drawing will take about 20 minutes to complete. You will start by outlining the trunk and then add patterns to create texture. Finally, you will color your drawing to give it a finished look.
The approach is straightforward and focuses on outlining and adding details. You can choose your own colors for the bark, which allows you to express your unique style. Remember, the goal is to understand how to represent the texture of tree bark in your artwork.
As you work through this lesson, pay attention to the shapes and lines that make up the bark’s surface. This practice will help you improve your drawing skills and learn more about nature drawing. Enjoy the process of creating your artwork!
Materials
- Pencil
- Drawing Paper
- Crayons | Colored Pencils | Markers (you choose)
- Black Marker (optional)

To create your drawing, you will follow a total of six steps. First, you’ll start by outlining the trunk of the tree, which is the foundation of your artwork. Once you have that outline, it’s time to add some fun spiral patterns around the trunk. These spirals will give your drawing a lively feel!Next, you’ll want to add even more spirals in different sizes to make the bark look interesting and textured. After that, you’ll form ridges by drawing curved lines around those spirals. This will help create the rough appearance of tree bark that we see in nature.Don’t forget to fill in any empty spaces with short wavy lines! This step is super important because it adds depth and detail to your drawing, making it look more like actual bark. Finally, you can color your tree trunk using shades of brown. If you want to make it pop, consider using darker shades along the edges for some shadow effects.Remember, each step is designed to help you understand how to capture the texture of tree bark beautifully.
Time Needed: 30 minutes
-
Outline the Trunk

First, create two jagged vertical lines to form the outline of the tree trunk.
-
Draw Spiral Patterns

Add spiral-shaped patterns near the bumps of the trunk.
-
Add More Spirals
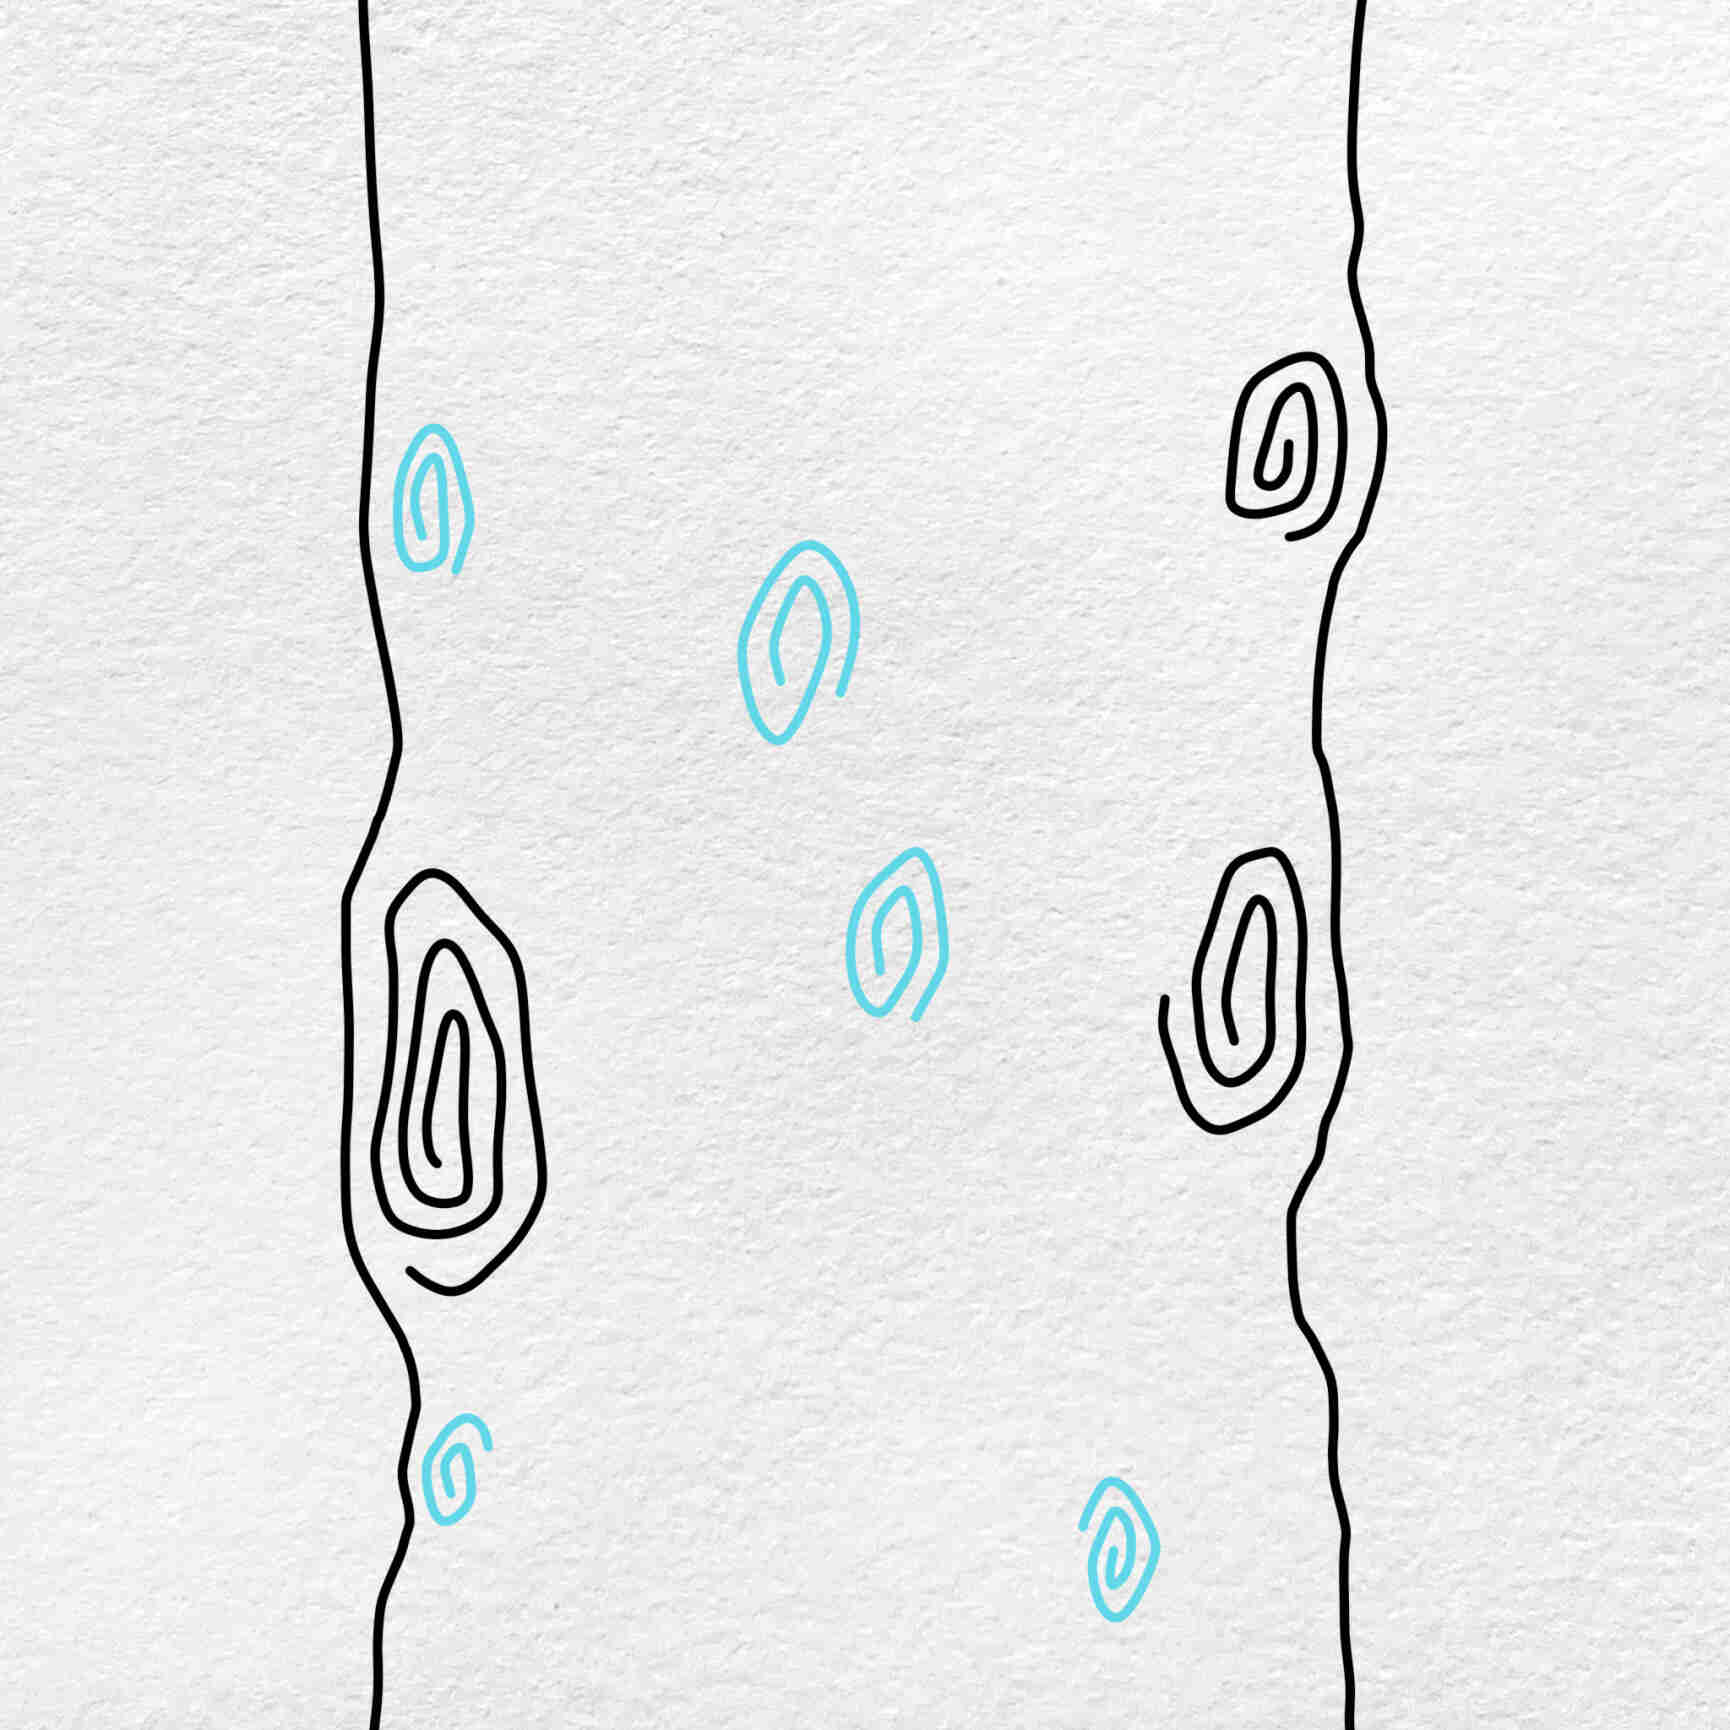
Draw more spirals of varying sizes all over the trunk.
-
Form the Ridges

Start forming the ridges by drawing curved lines around the spirals.
-
Create More Texture

Fill in the empty spaces along the trunk with short wavy lines to emphasize the rough texture of the tree bark.
-
Color the Tree Bark Drawing

Fill in the tree trunk with brown. Make sure to use darker shades of brown along the edges to add some shadows and depth.
Tree Bark Drawing PDF Download
Don’t forget to look at the PDF below! You can download it or preview it to help you with your tree bark drawing lesson. It’s a great resource to have on hand for extra support!